
TABLE II
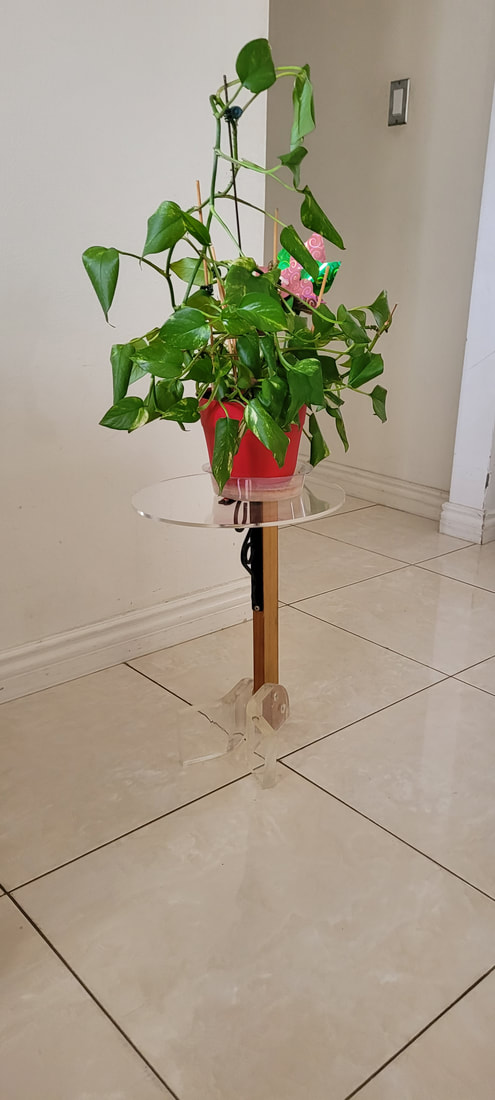
Fall 2023: Upon the success of the first table that was created as a gift, I had someone request a second table. This person specifically asked that the table "sustain a plant life". With such a vague prompt, I left the idea to sit in my mind for a long time before I could truly grasp how to approach this project.
PROMPT \\ MATERIALSI decided that I wanted to build something that was reminiscent of my last project while somehow transitioning to this new purpose of sustaining a plant life. If this table was supposed to hold or be a placeholder for a plant, I wanted the table to have some organic properties.
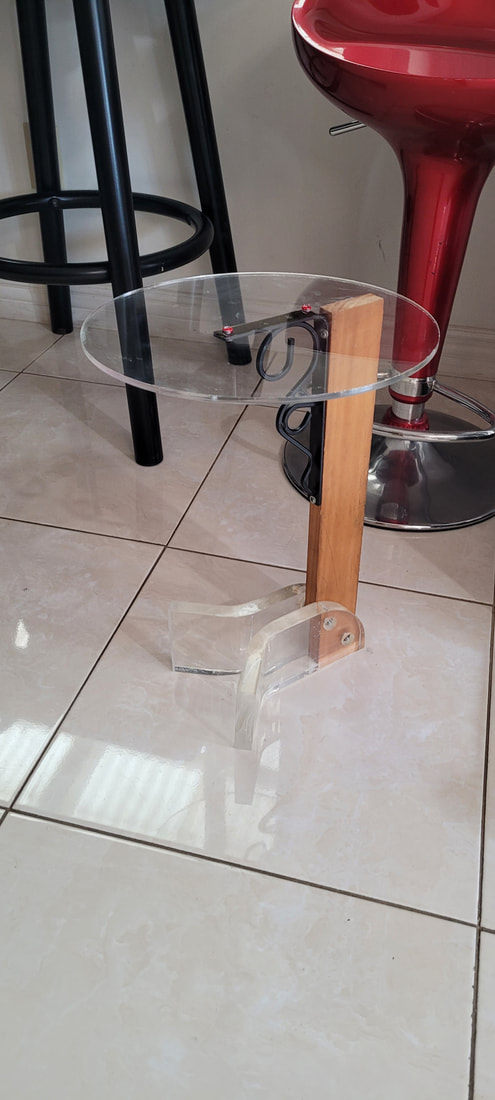
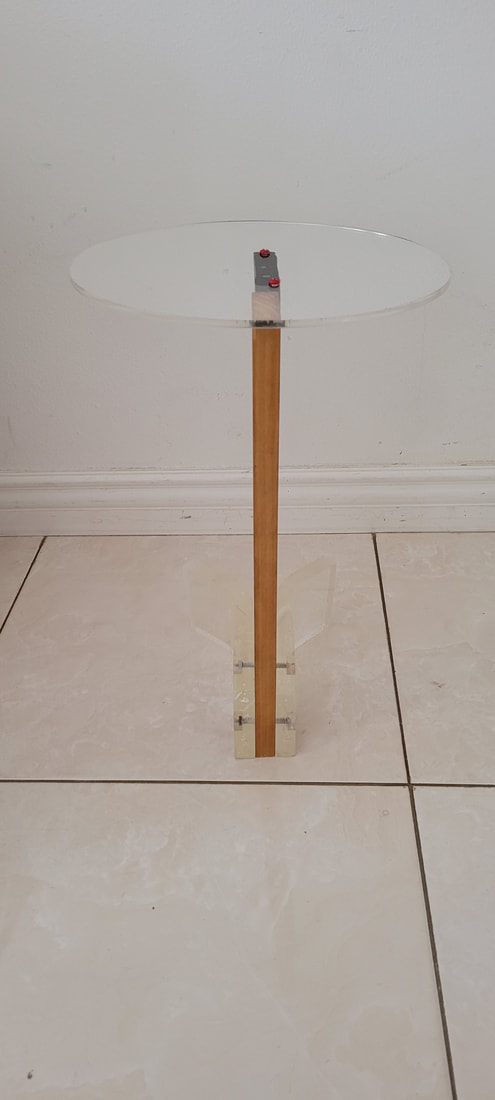
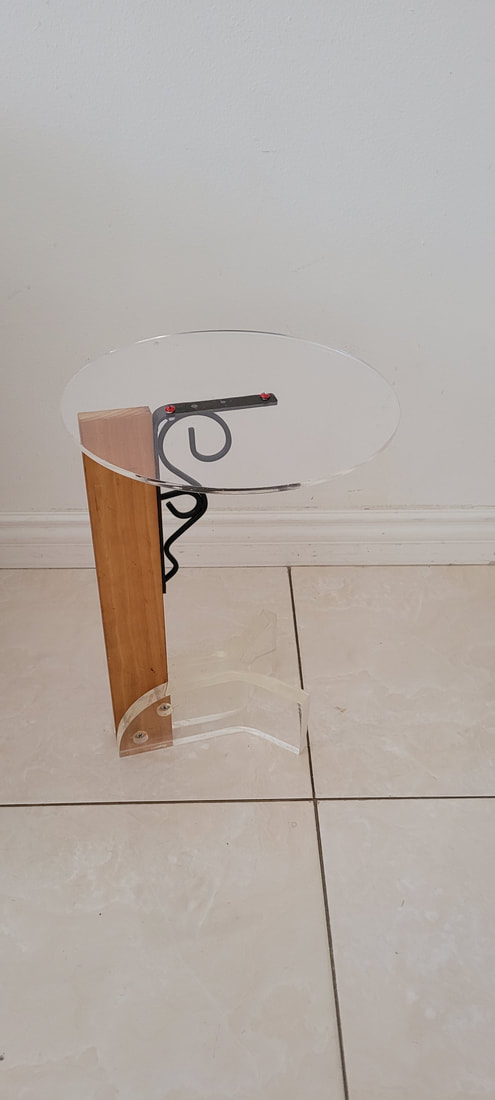
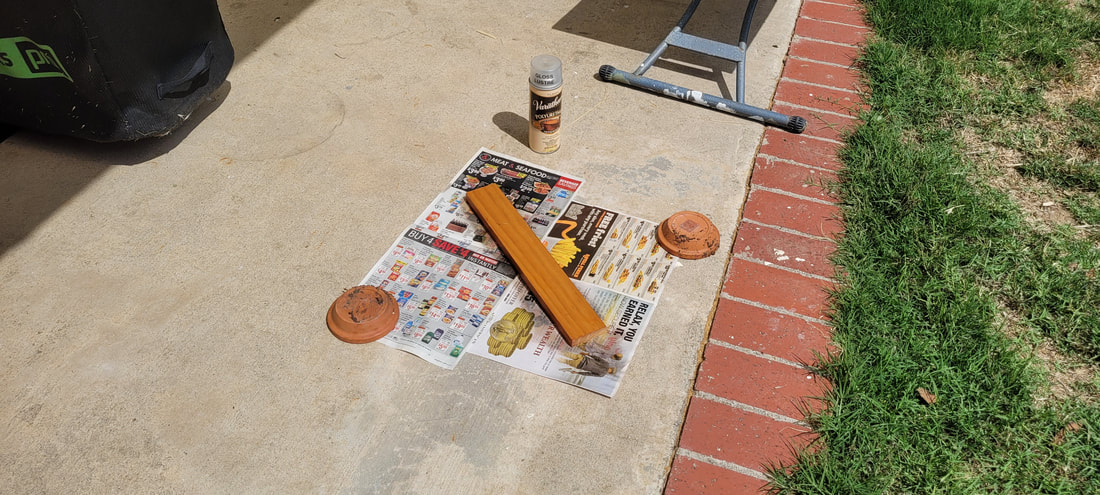
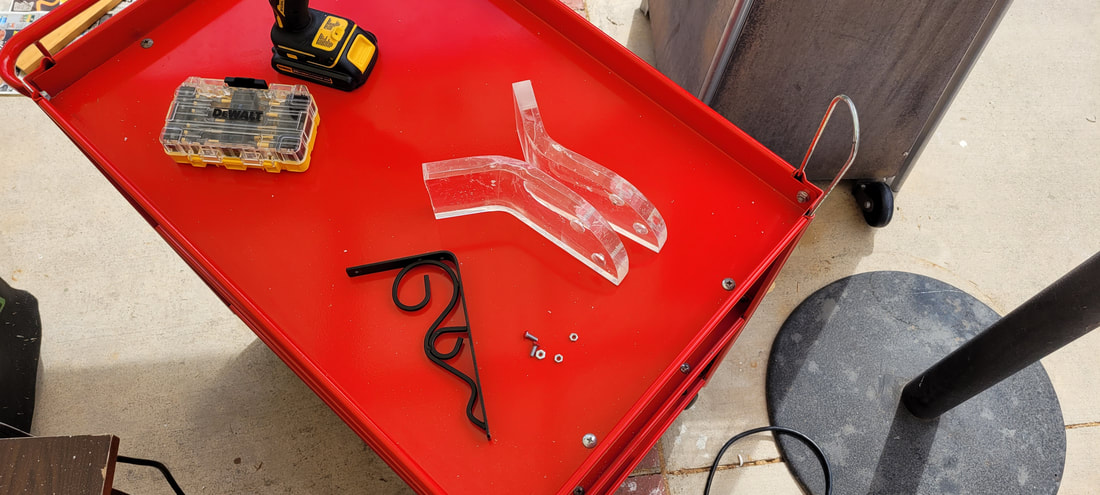
The first obvious material of choice was wood, but I didn't want to stop there. With a thick and warped acrylic stud that I had, I found beauty in its natural properties and the interesting shape. How could something like this be a spawn of nature? With chemical engineering, it is possible, and it was something that I figured I could showcase as a unique and organic expression. With acrylic and wood as my first options, I settled on a nice decorative steel support that once belonged to a shelving unit as a third material. I chose this object because of its curves and shape that resembled a vine. My last material was the table top itself, and so I chose acrylic to match what I intended to have as my base, which were the warped acrylic studs. It was of course a circle, the most organic shape of all, and a shape that would fit most plant pots. |

|
|
|
|
CONSTRUCTION
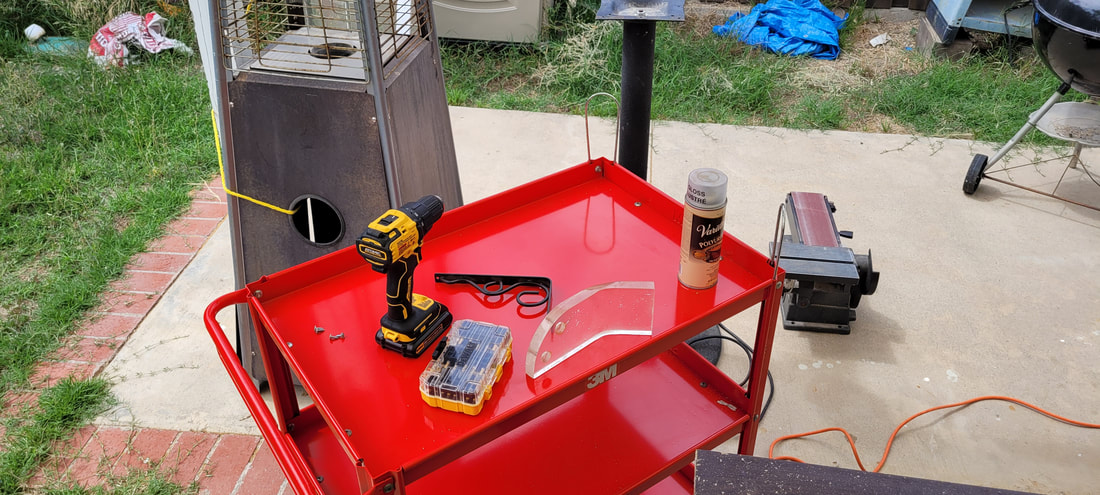
Only a few cuts were necessary for this project, some sanding, and bolted connections that were similar to the previous table.
|
|
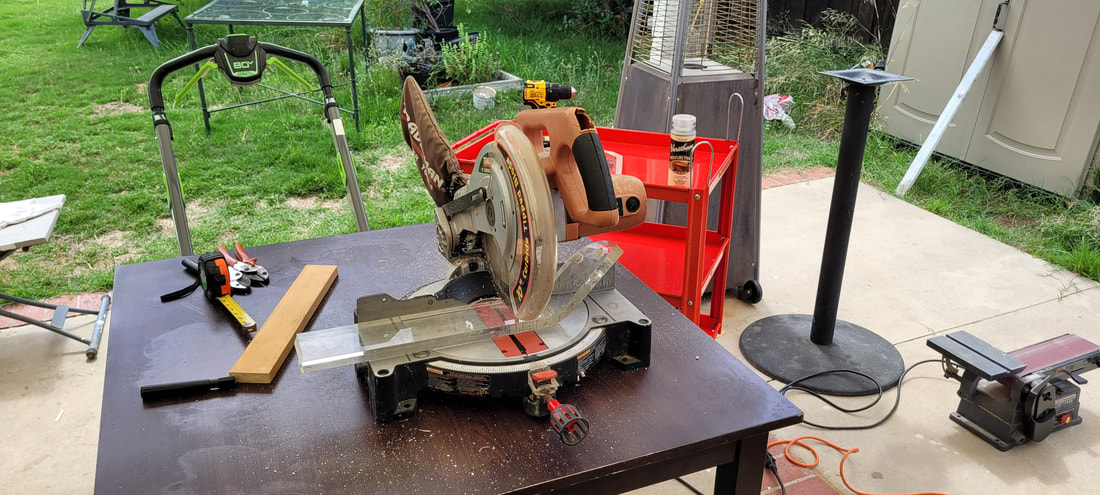
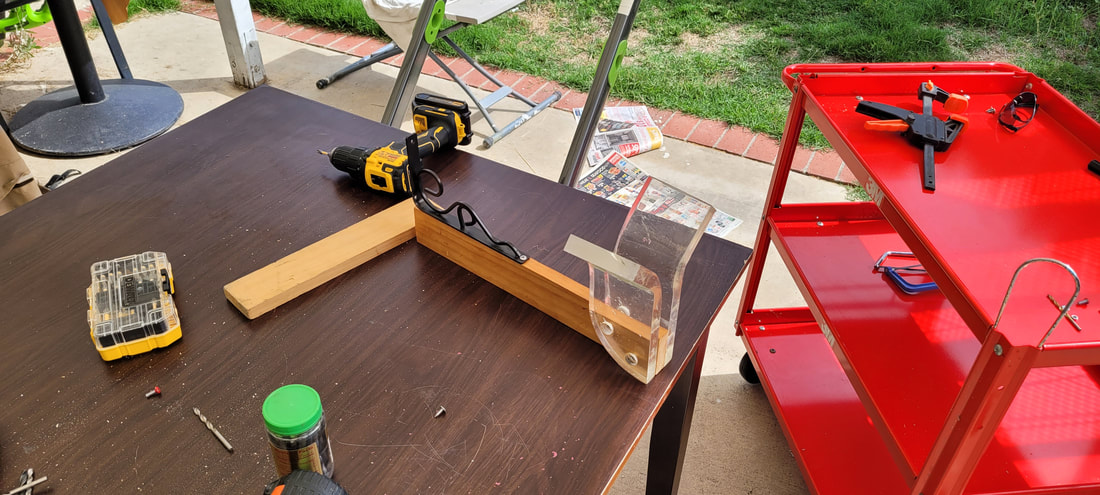
A chop saw was used to cut the acrylic stud into two small pieces that would become the base of the table. It was also used to cut the wooden stud to size.
With drilled holes in the acrylic studs, I inserted two bolts with nut connections to clamp the wooden stud in between. I used screws to attach my steel support to the thin side of the wooden stem. And lastly, I used small bolts which were painted red (for accent color) to the steel support to secure the tabletop to the base and stem.
With drilled holes in the acrylic studs, I inserted two bolts with nut connections to clamp the wooden stud in between. I used screws to attach my steel support to the thin side of the wooden stem. And lastly, I used small bolts which were painted red (for accent color) to the steel support to secure the tabletop to the base and stem.
|

|
|
|
