SHED pt. 2 architectural folly
A bigger and more complete version of what the construction process is and how it was mounted to a foundation.
The process of pouring foundation, framing for support, and sheathing for a primitive shelter.
The process of pouring foundation, framing for support, and sheathing for a primitive shelter.
|
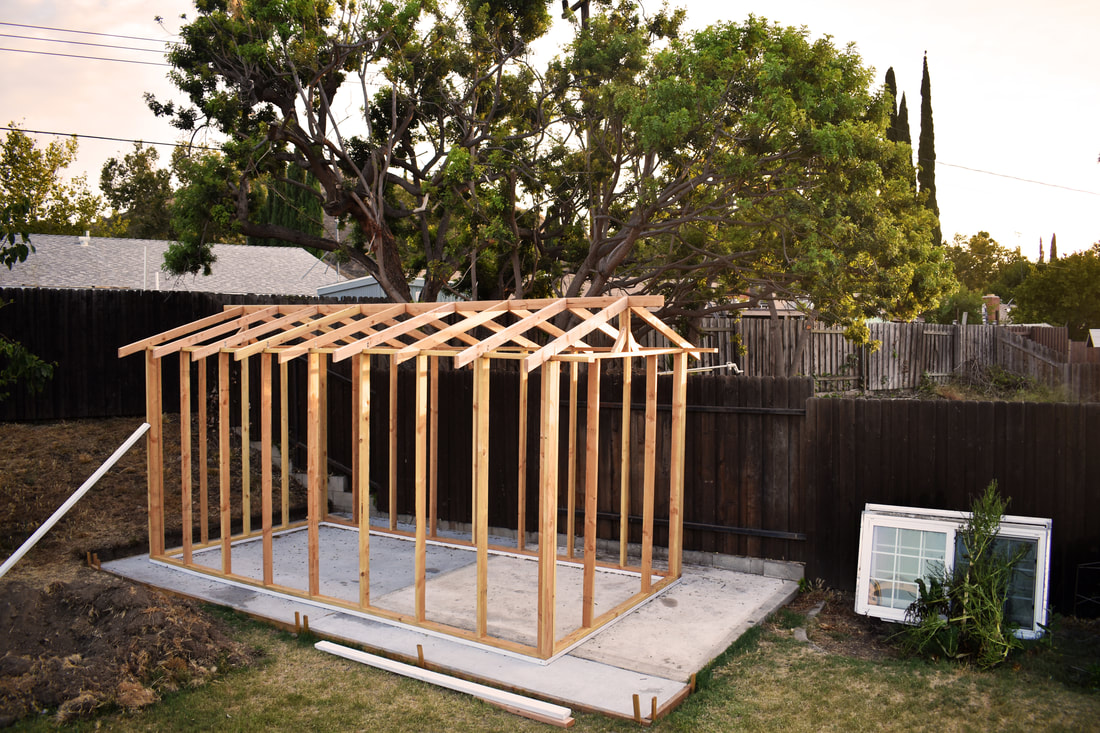
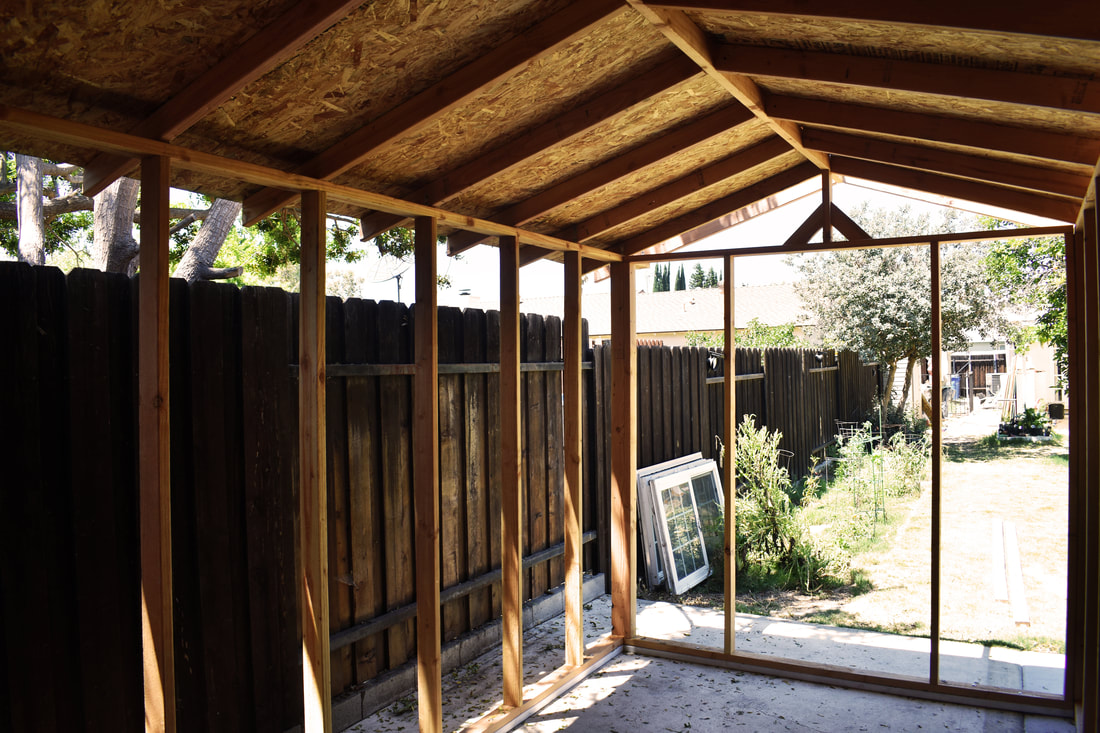
The entire shed was made with a very small variety of materials. It was composed of 2x4 beams, 4x8 sheathing oriented strand board, fascia boards and roofing material for the most part. It's 16 feet long, composing of a grid of 4x8 panels side by side. The structure is also only a width of 8 feet, however, excluding the width of the overhanging roof. As far as a "foundation" it was just a 4'' slab of concrete that had concrete anchors holding a 2x4 comprised frame. |
CONSTRUCTION & DESIGN PROCESS
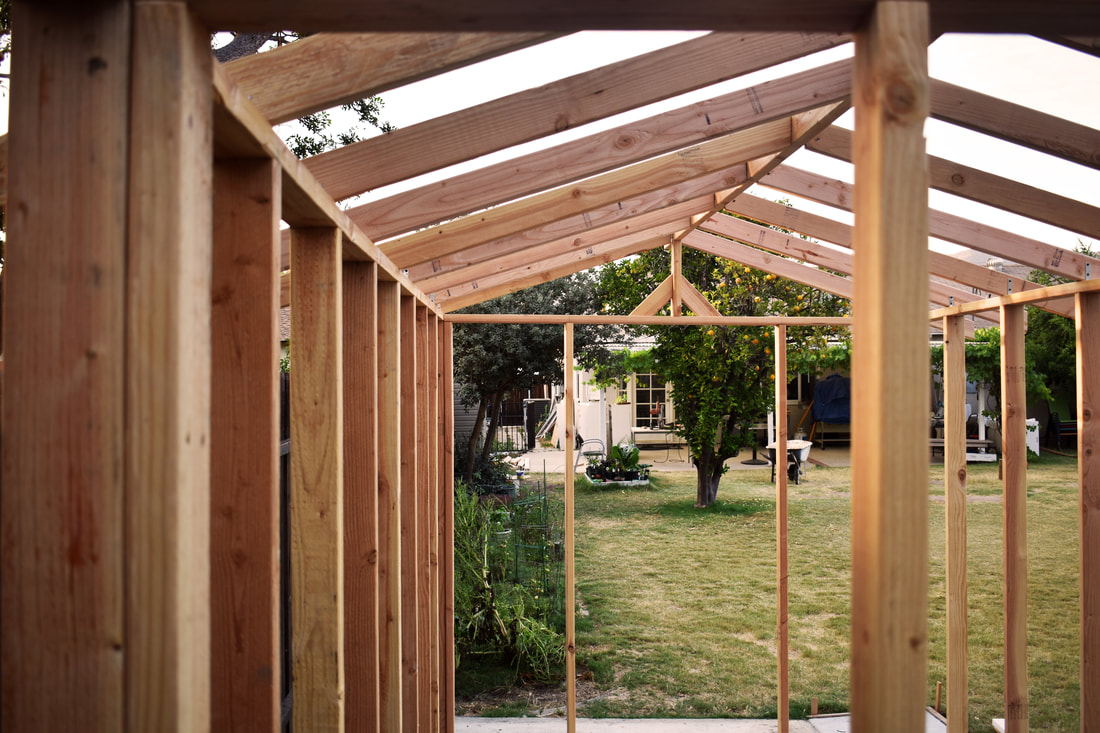
With a very simple grid pattern, the shed is actually very easy to follow just by simply looking at the frame. Here are some examples.

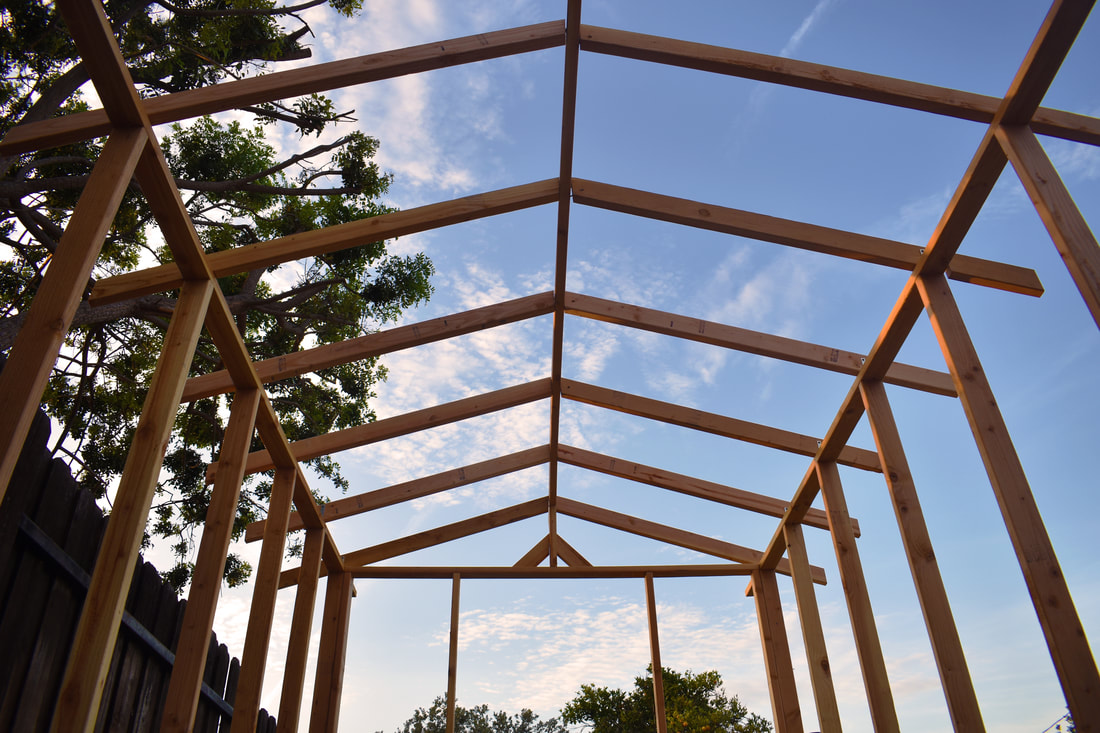
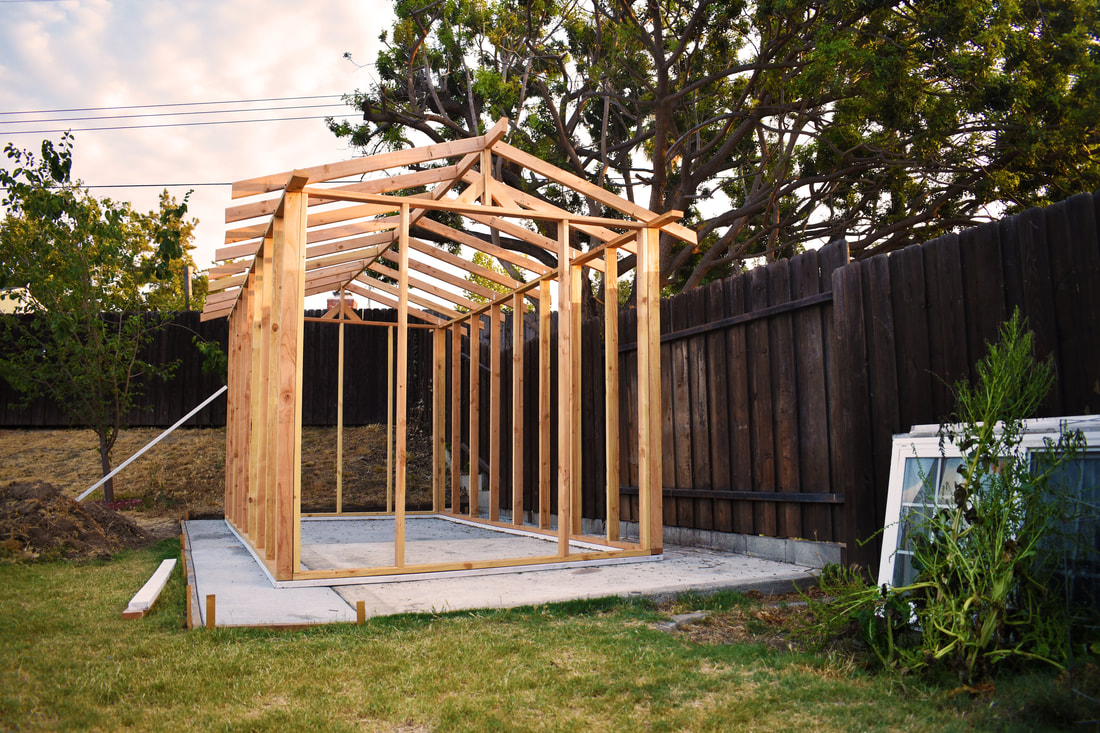
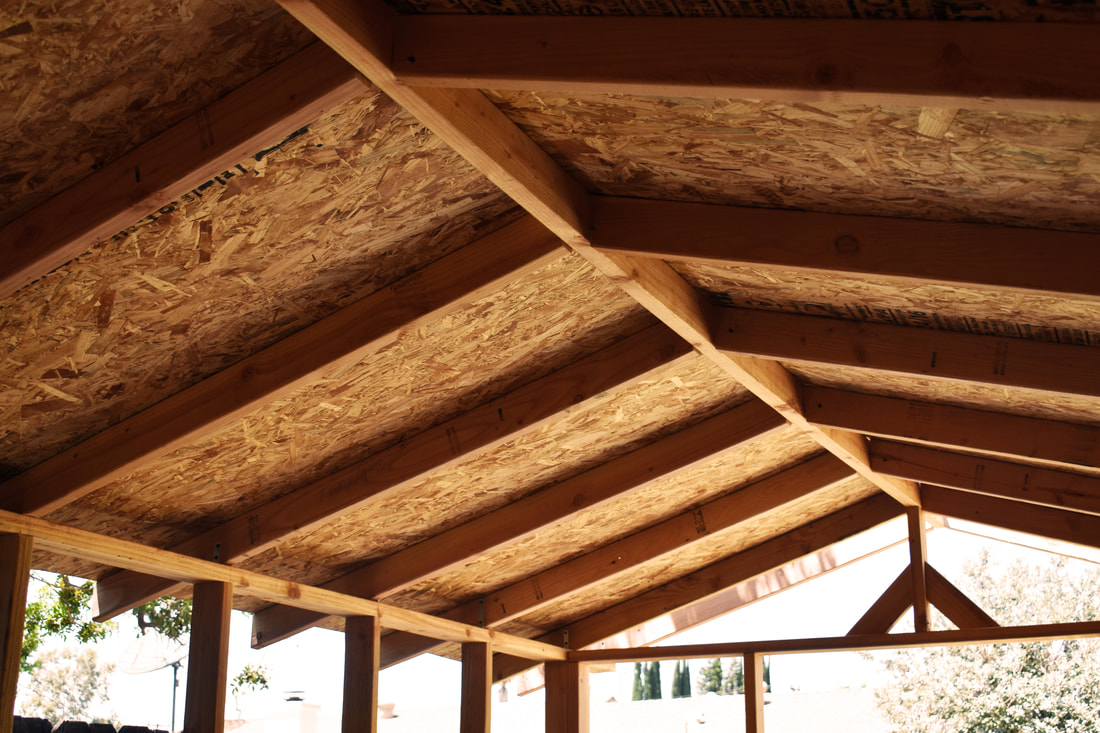
Each vertical stud that surrounds the shed has 2 feet of space and the studs are 7 feet tall. With the studs being exactly 2 feet from each other on center, the 4x8 panels could fit on this grid perfectly. The pattern even continued to the roof to allow for the OSB panels to sit on the roof on center as well.
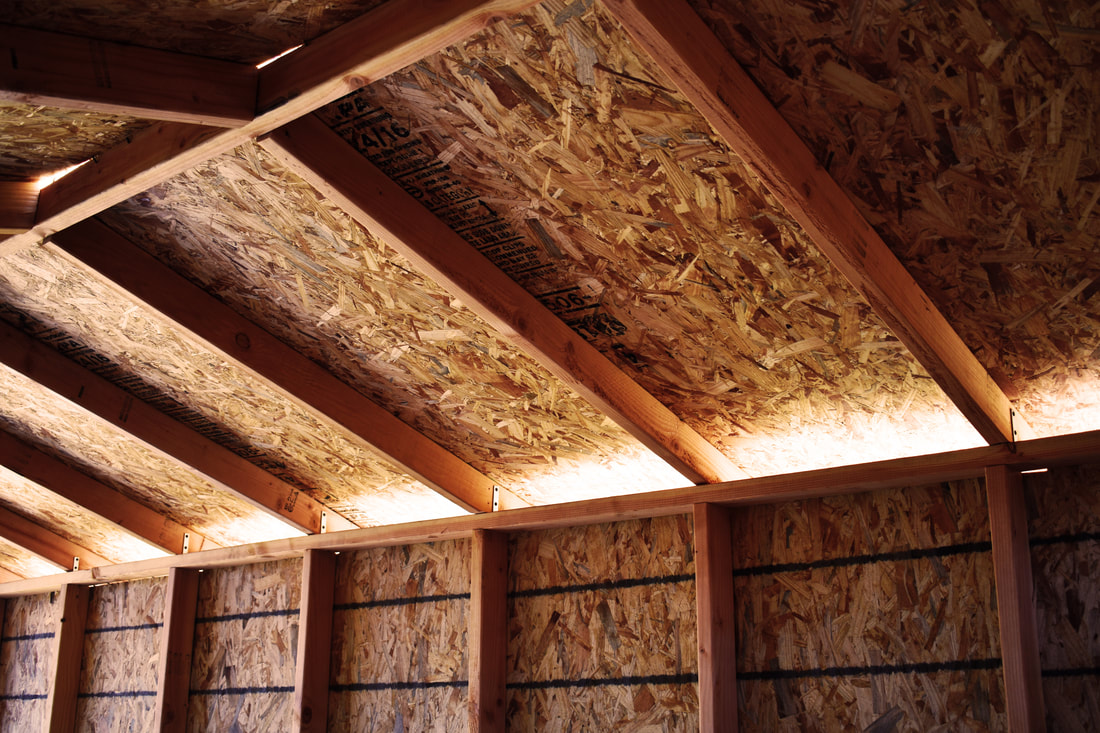
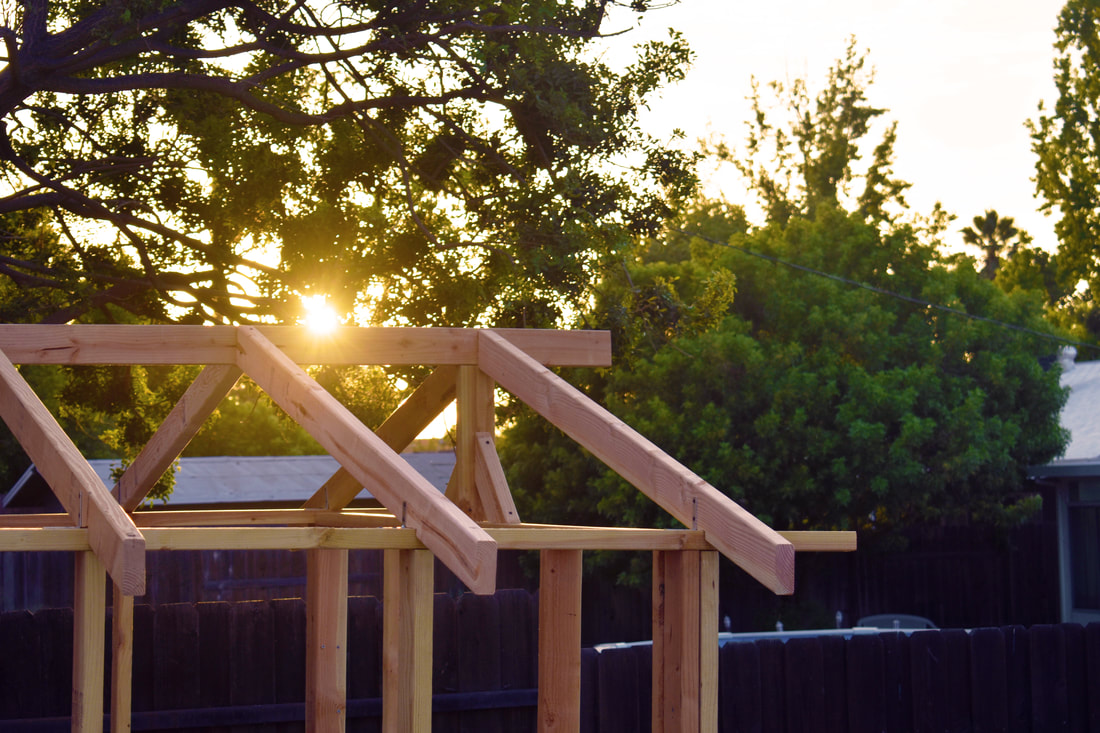
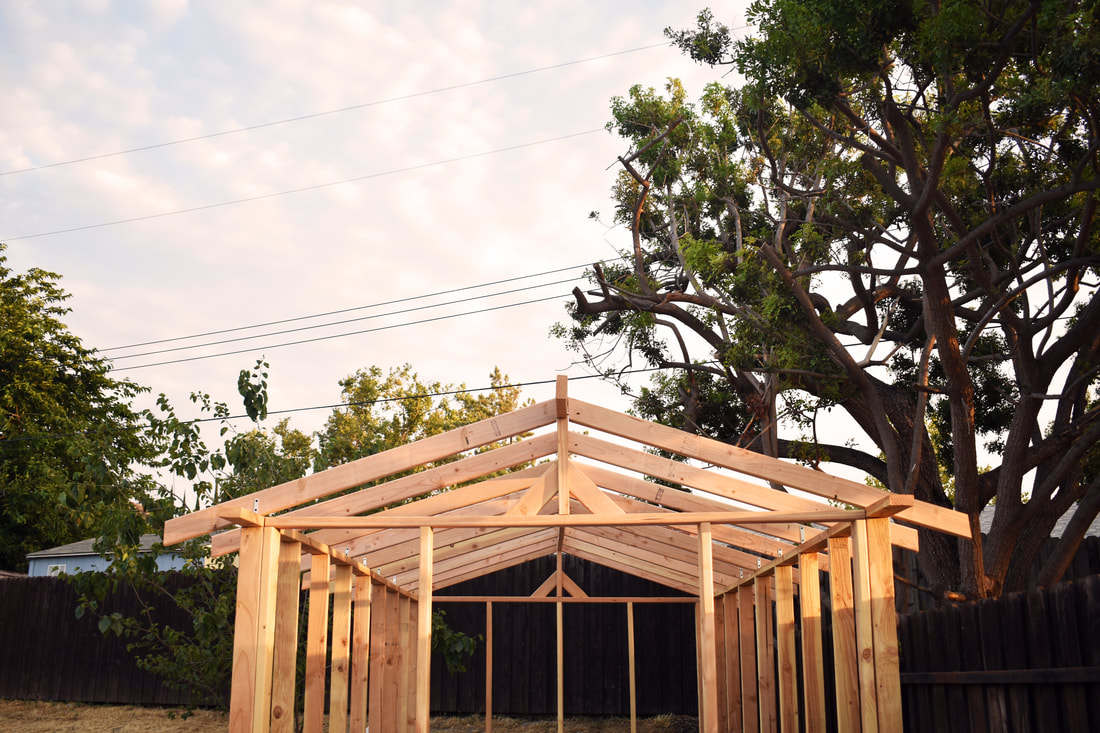
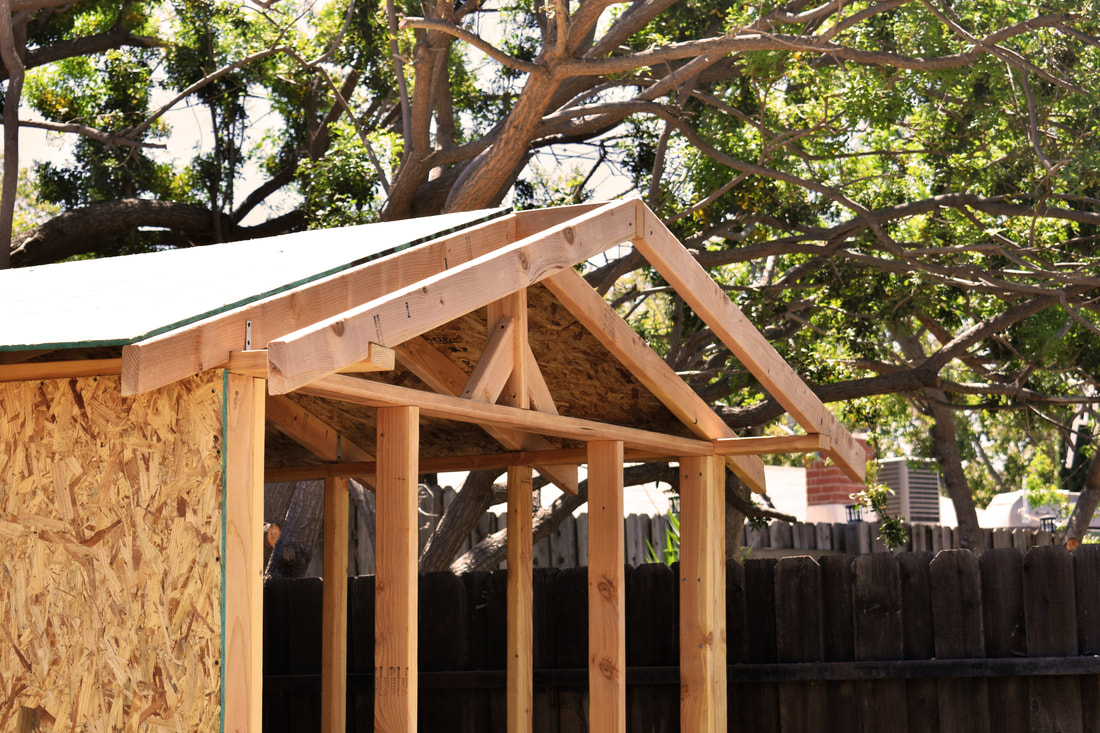
A problem that arose in the project was the space between the roof and the top edge of the wall as you can see pictured on the right above. This was due to the thickness of the 2x4 beam. I went back in after and used fascia boards to patch these areas so that water wouldn't be allowed to make it in and for pests such as spiders and insects.
SPECIAL DETAILS
At the corners where two stud walls met, a second stud was set in place adjacent to it for further support and for order in the plan.
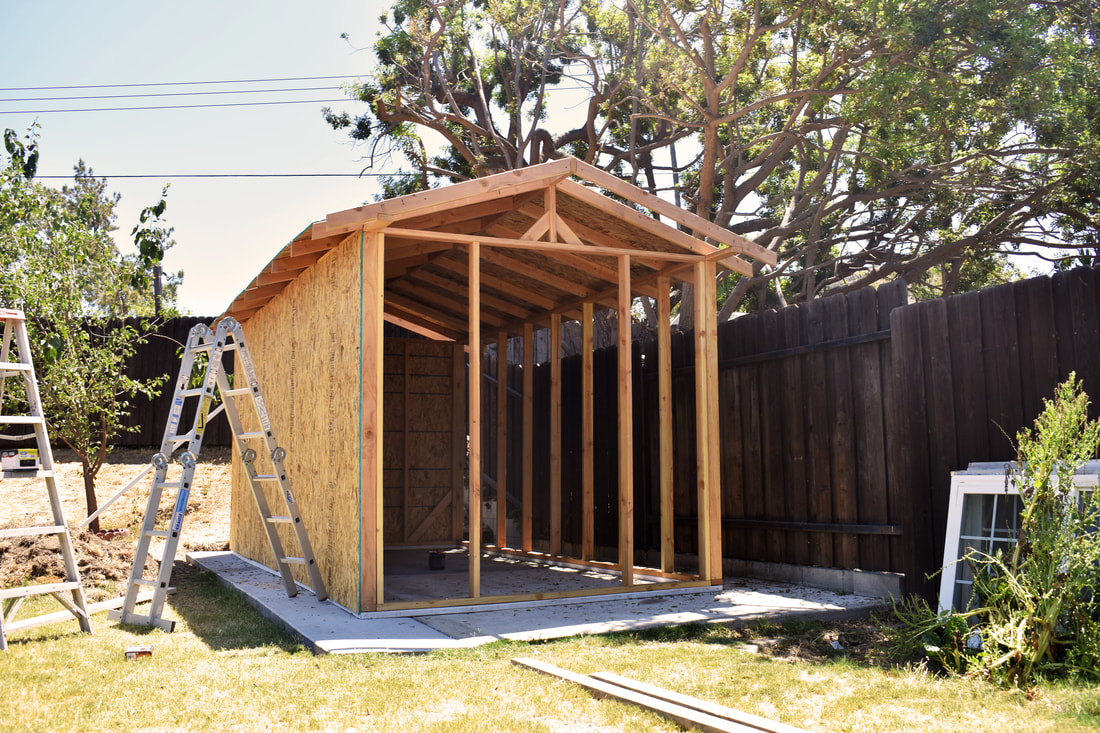
Also, at the long ends parallel to the roof beams, was an extra overhanging beam to allow for a small relief over the front doorway.
Also, at the long ends parallel to the roof beams, was an extra overhanging beam to allow for a small relief over the front doorway.
Here is the before and after of the shed showing the original framing and the sheathing after.
The shed was later painted and a door was added.
The shed was later painted and a door was added.