COMMUNITY CENTER
Inspired by Timber in the City architectural competition.
Timber in the City is an architectural competition that challenges students to incorporate a mixed use residential community space with a resident gym, child day care center, auditorium, and an Olympic sized swimming pool. Throughout the prompt, it also refers to the use of timber within the building and how it can affect a space in Queens, New York.
COLLAGE
The different ways that this project derived its nature were found through composite collaging I did before the start of the project. I built a tiny wooden composite model and made a spreadsheet to further explore the ideas of the community space.
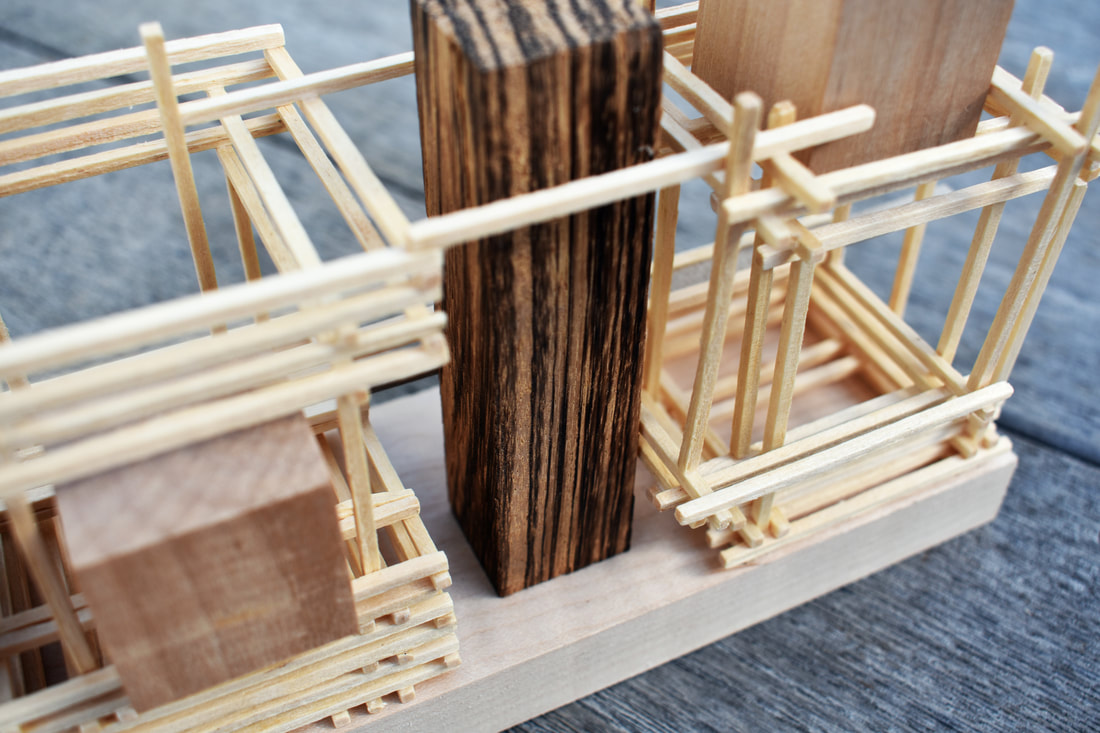
The different masses and dowels equated to different structural and volumetric characteristics of the building. I also wanted to connect the building elements together through some circulation method that can easier be shown in my second collage.
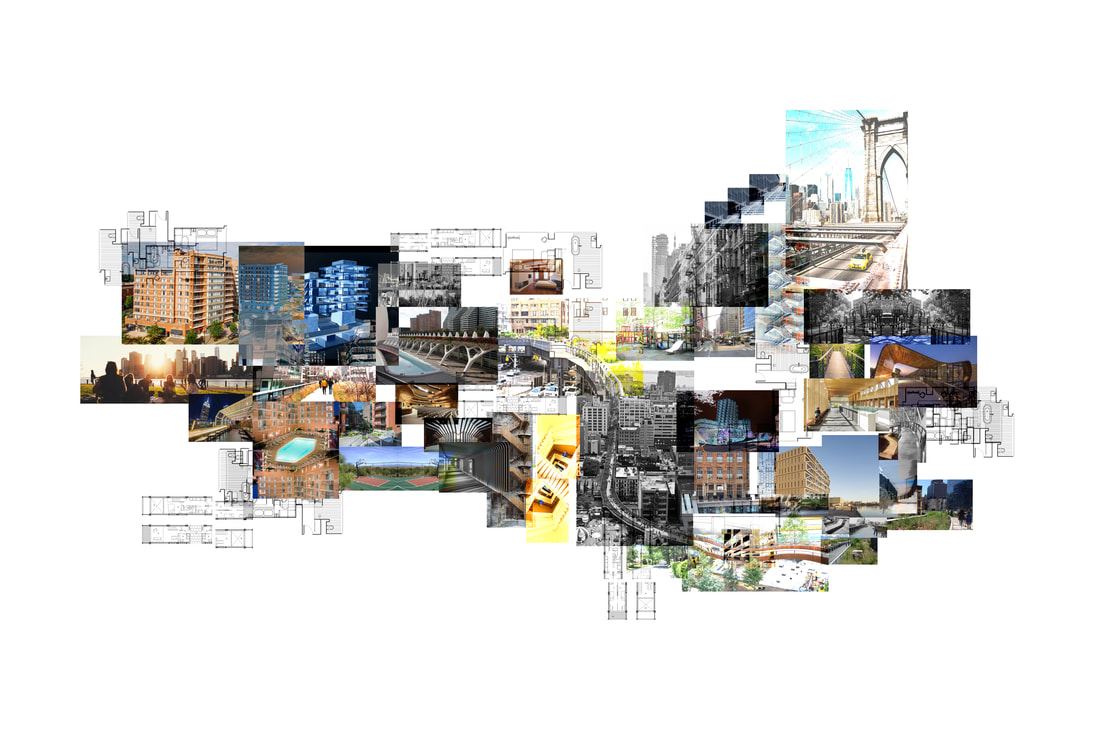
I drew much of my inspiration from visiting the High line, in Manhattan. This was a technique that I later on used to convey the idea of circulation throughout the different building components, all the while adding the feel of timberness to the space.
PLANS
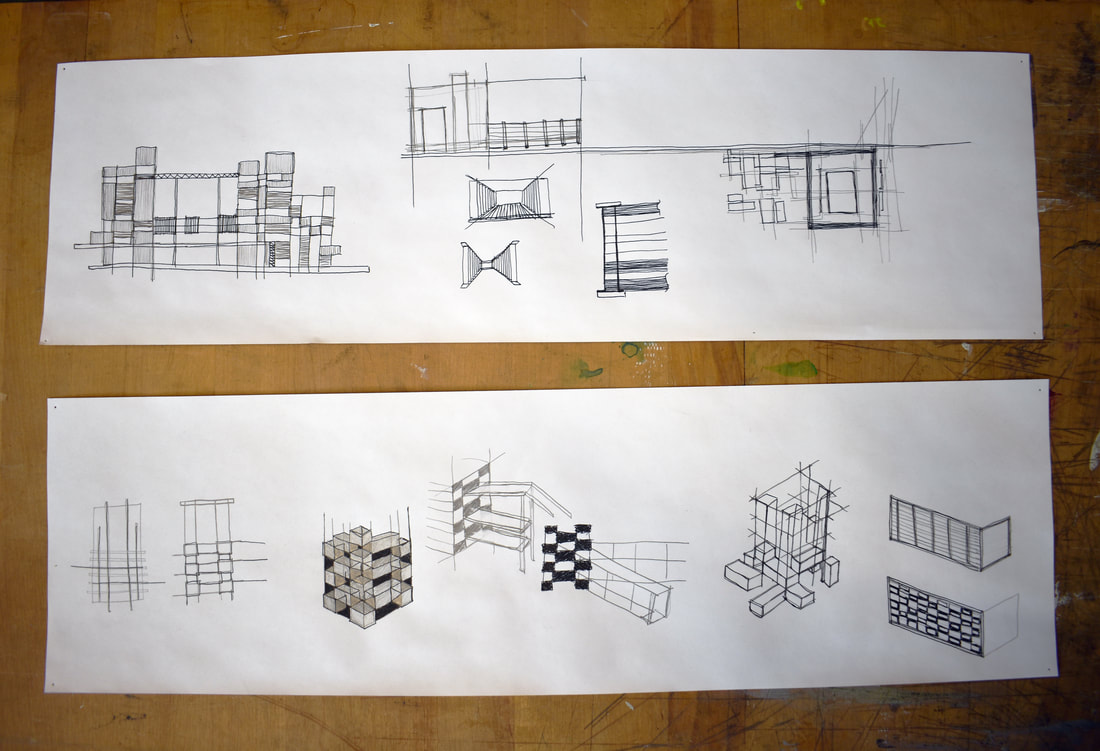
After playing with different sketches I decided to take my project into SketchUp, a 3D modeling program, and began to organize the main building components. The pictures of my computer model are shown below.
When I had worked out my main building components, I then worked on the plans and elevations displayed above.
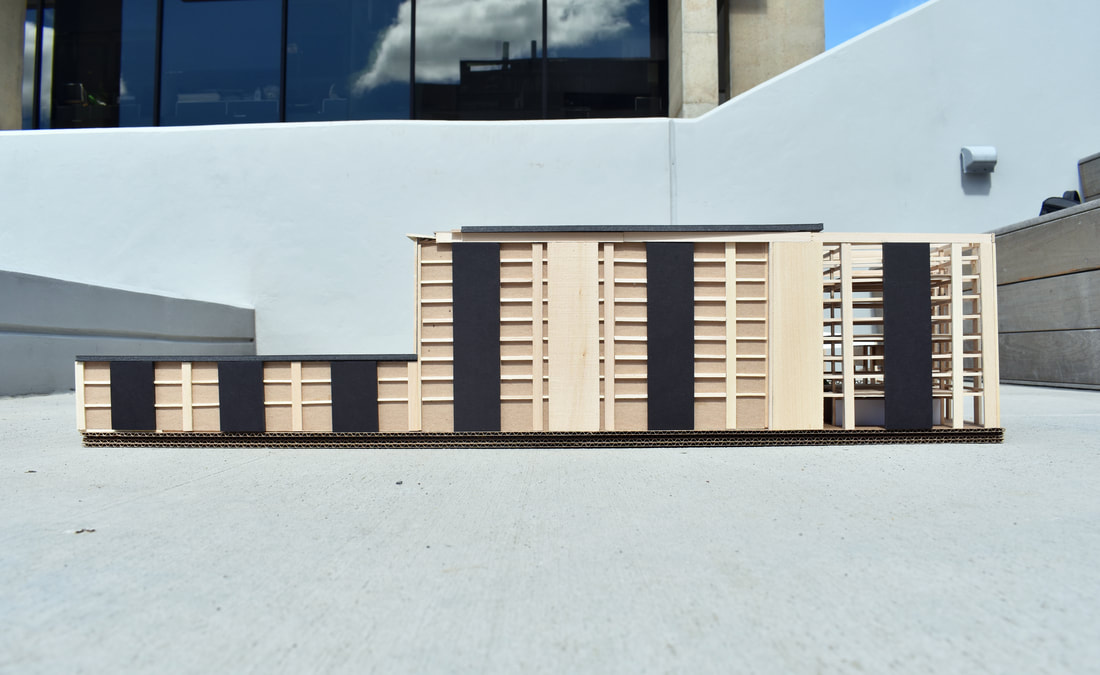
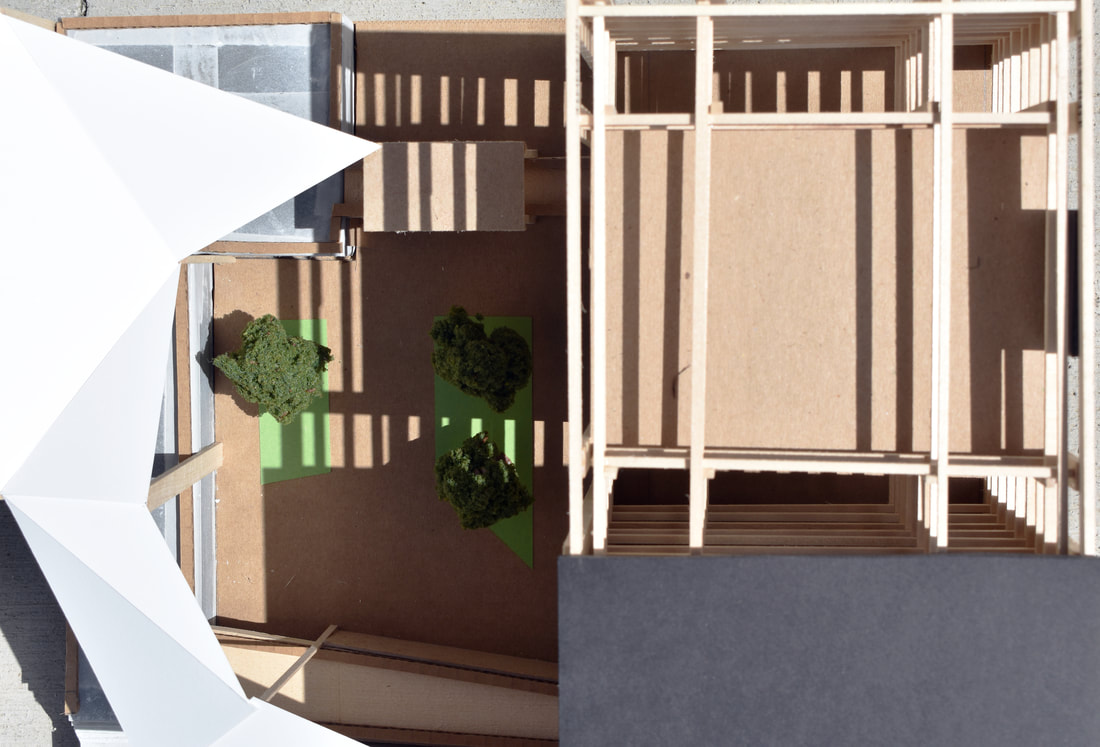
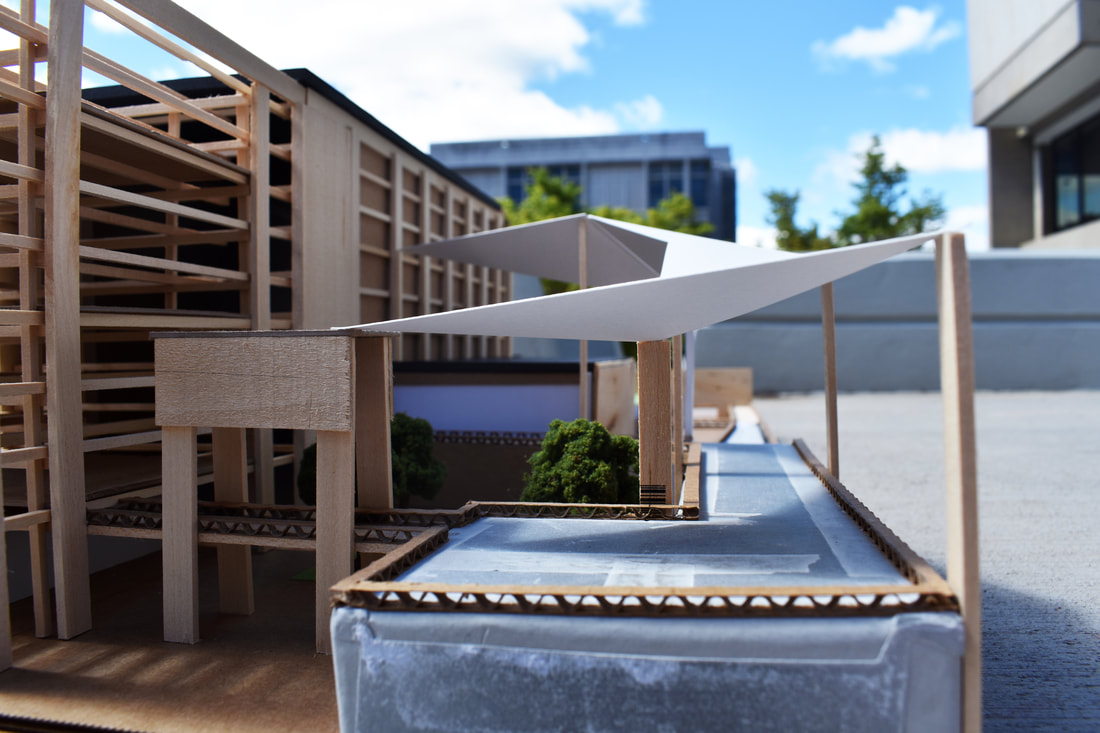
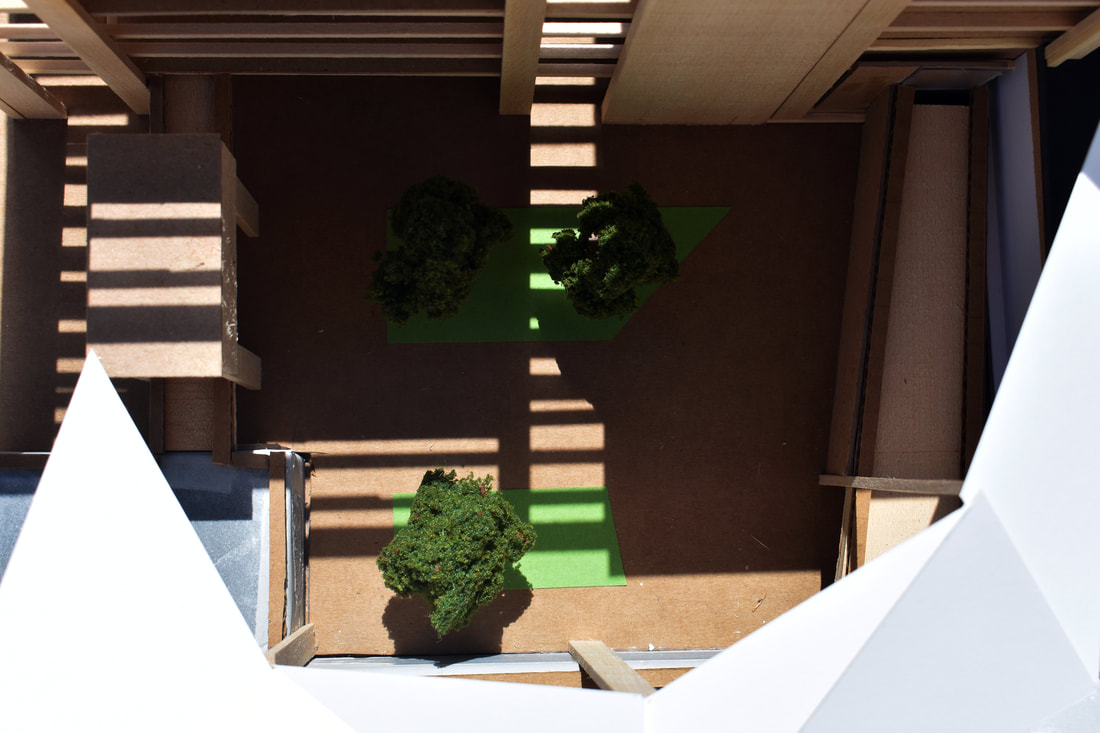
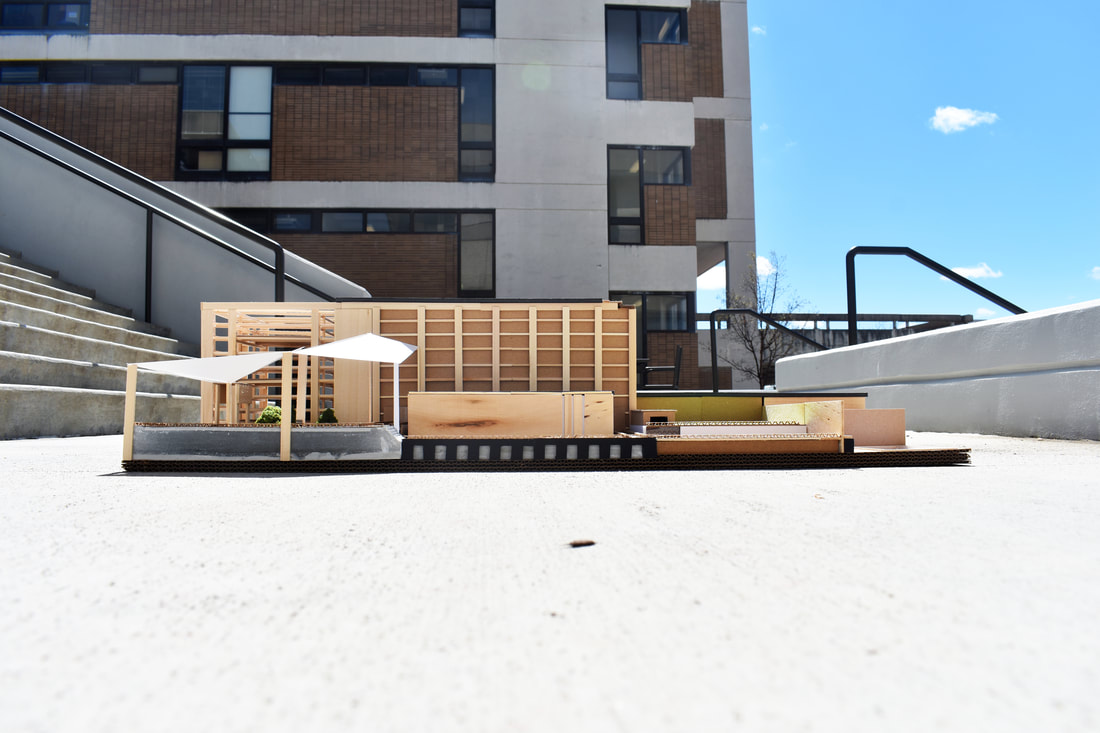
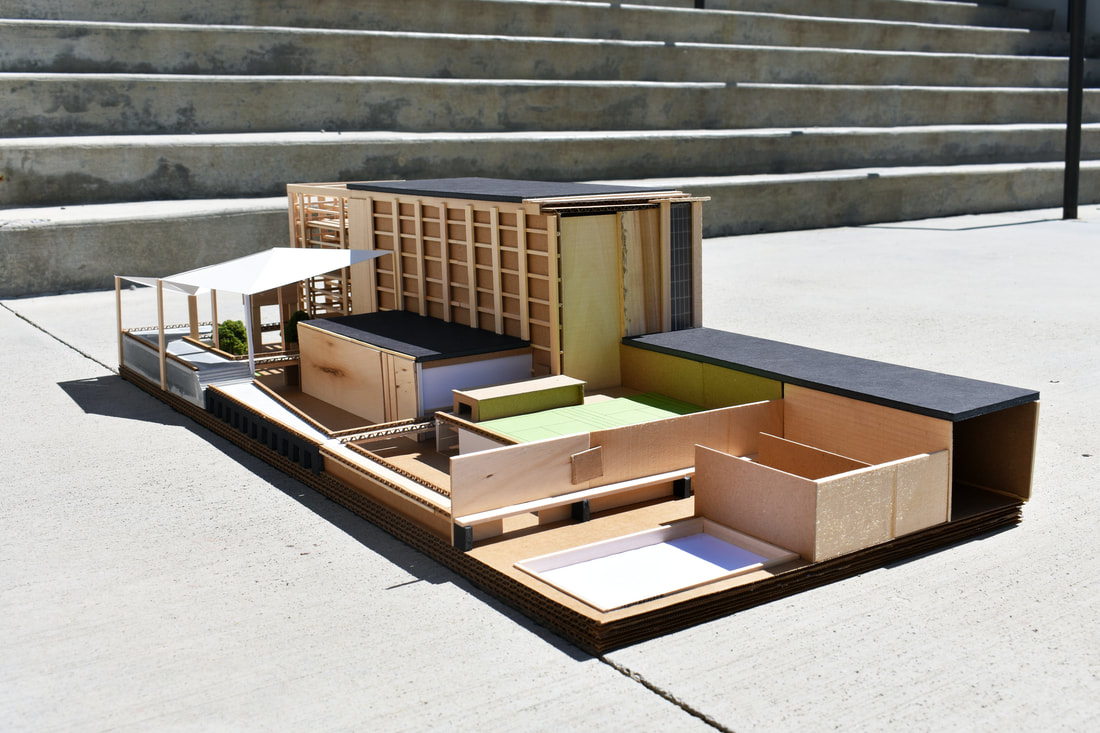
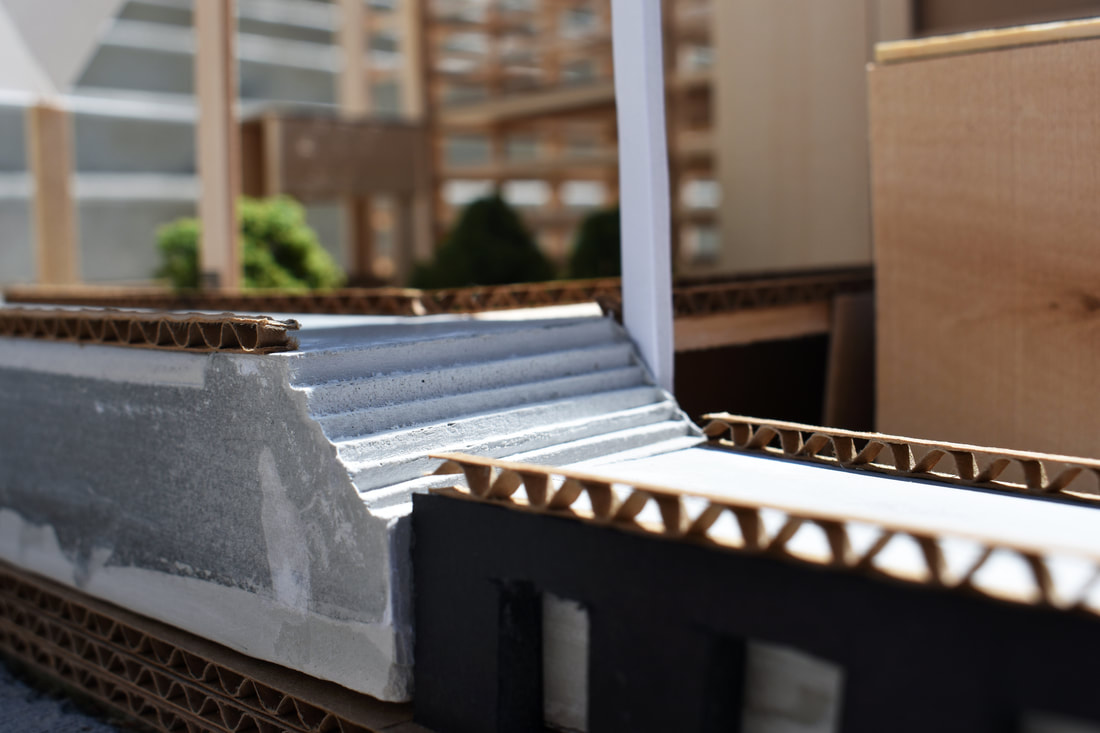
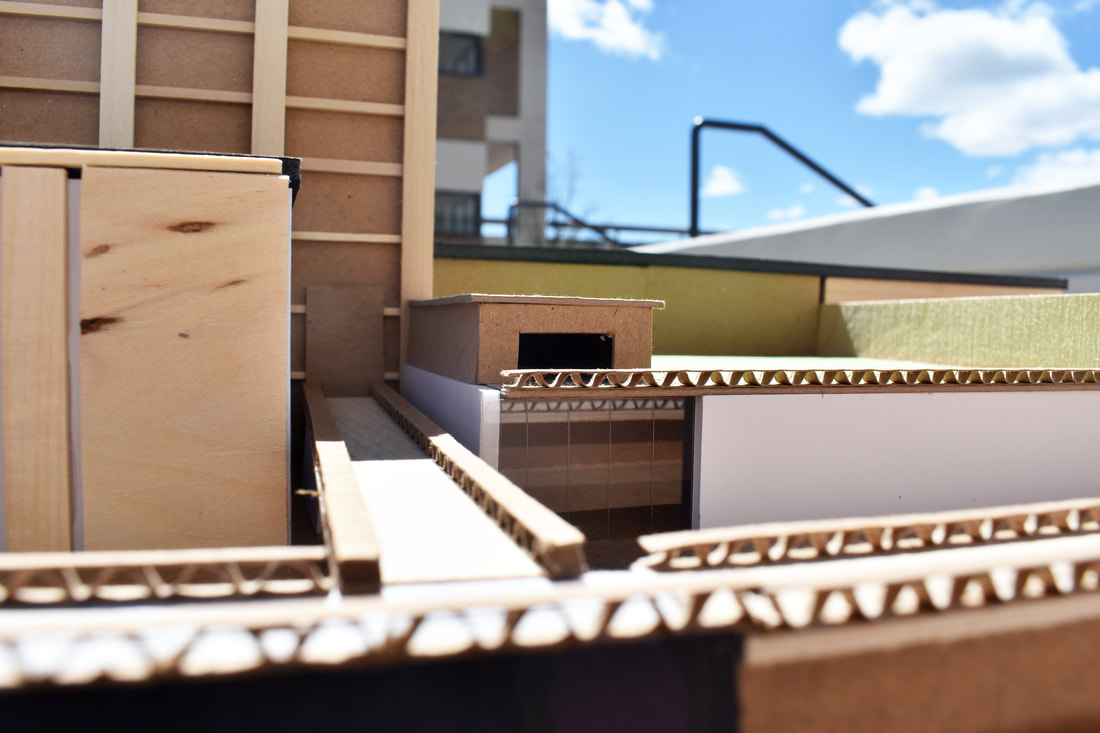
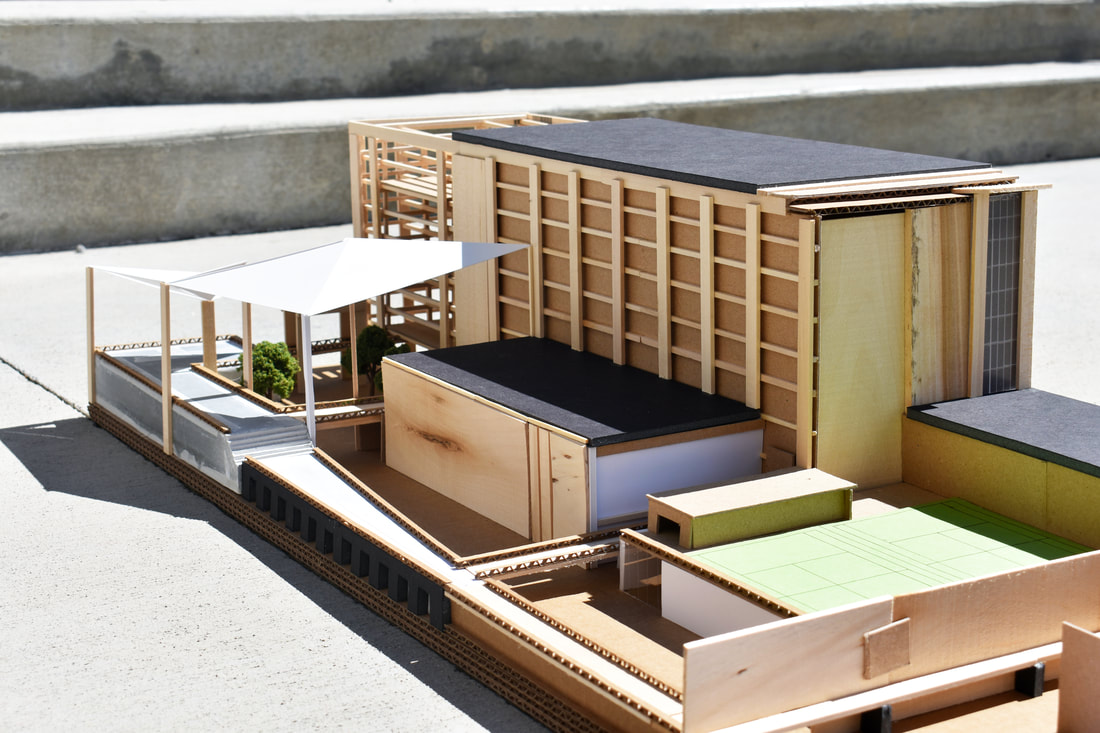
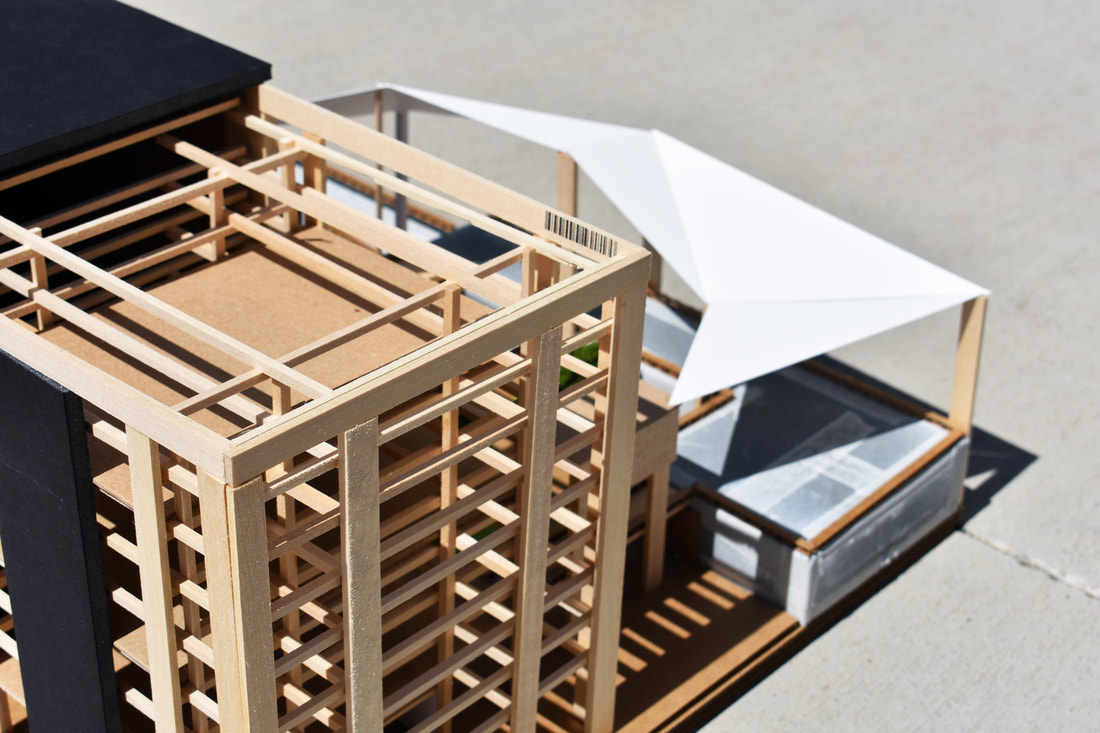
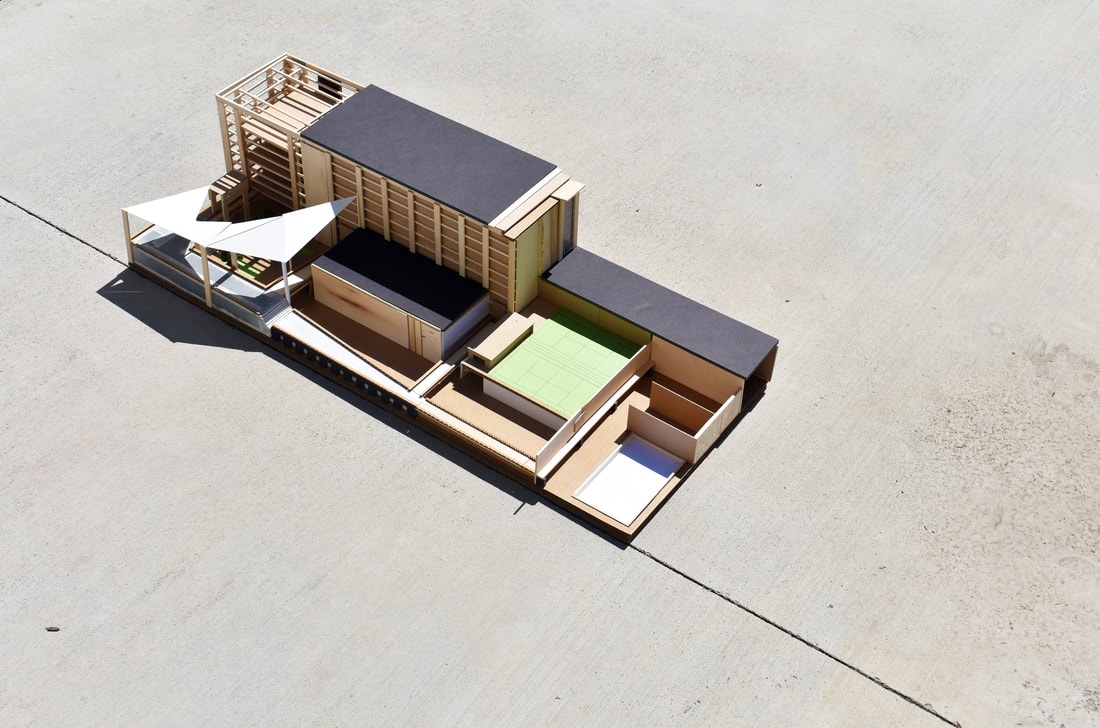
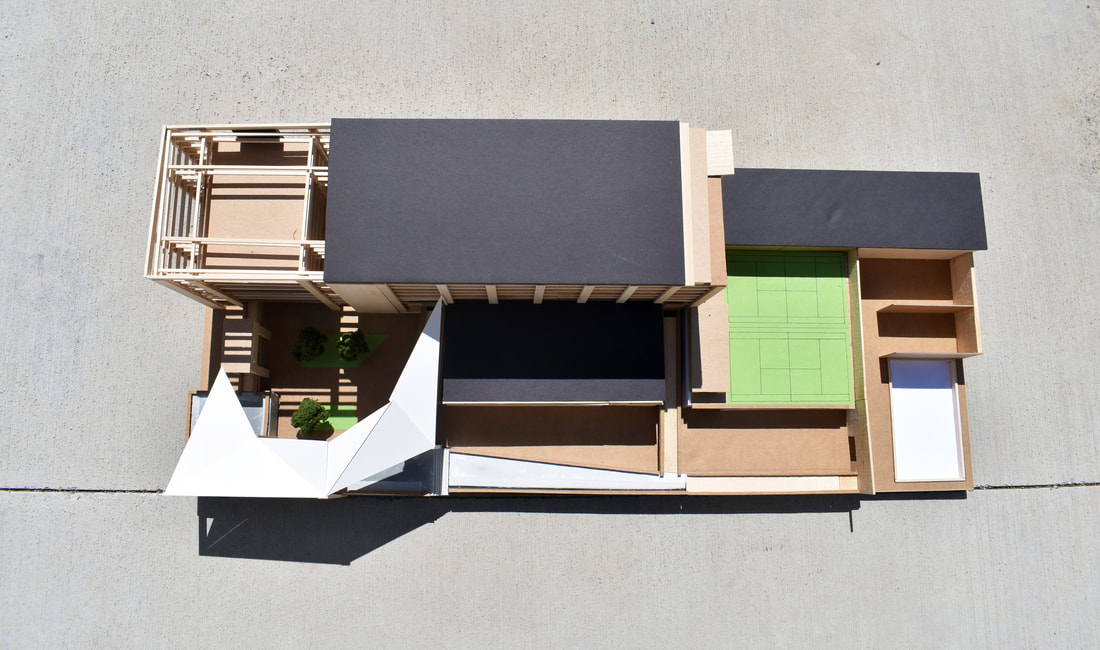
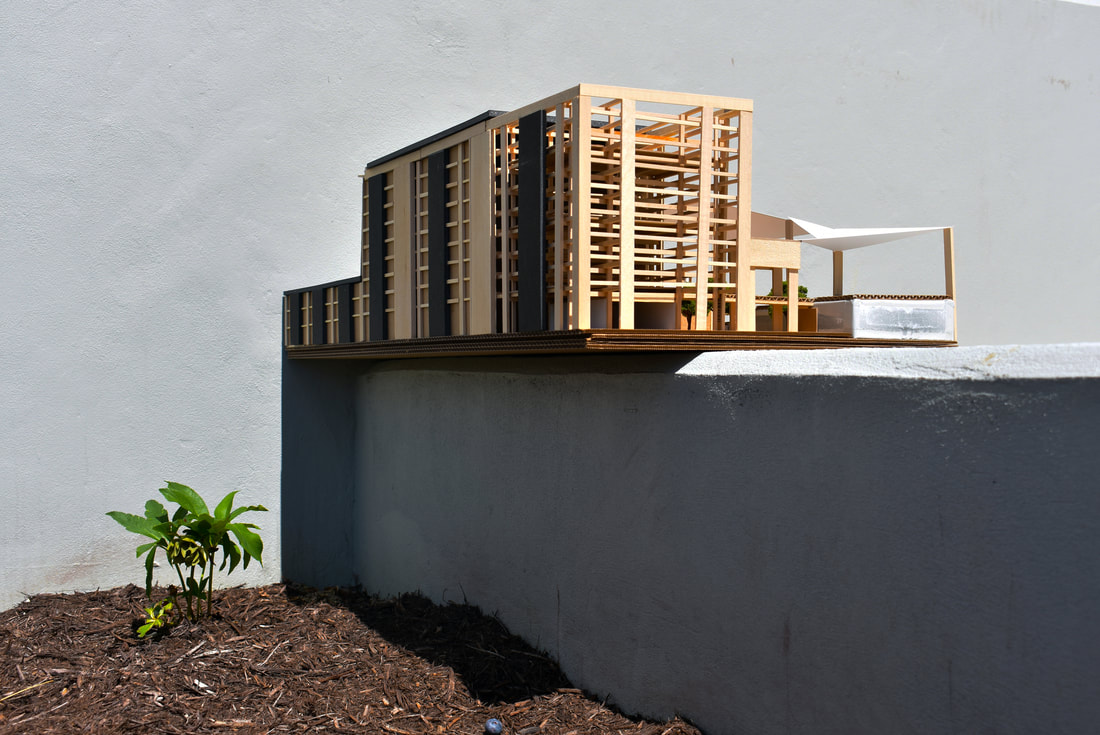
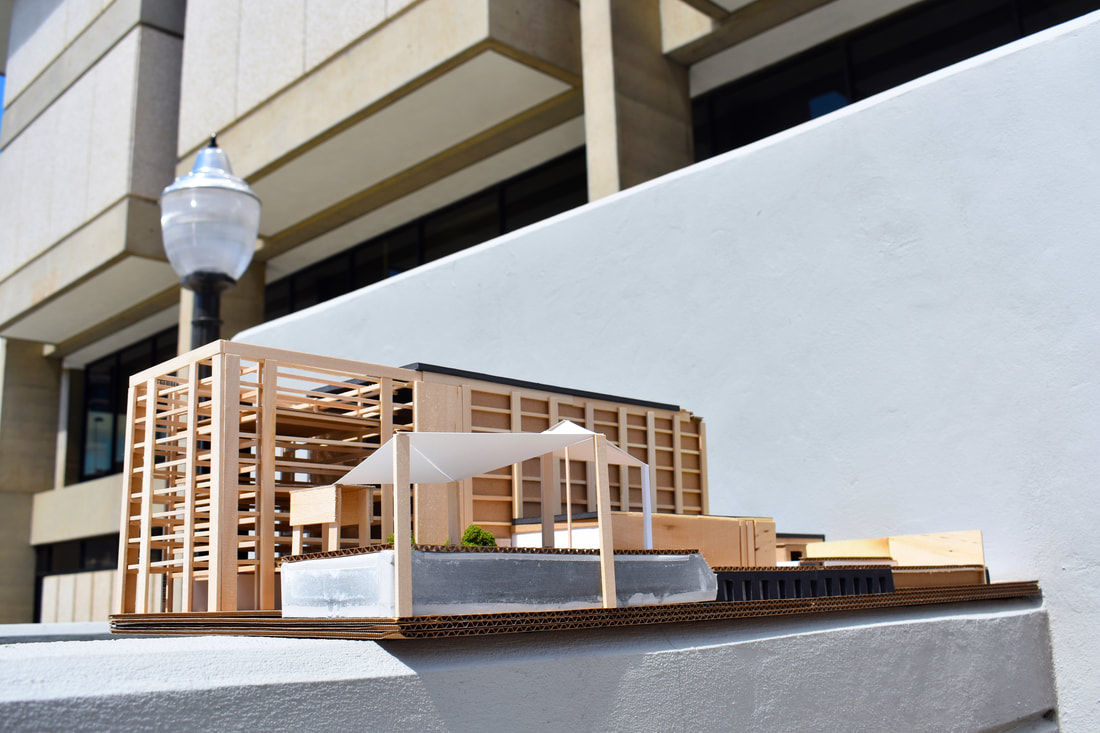
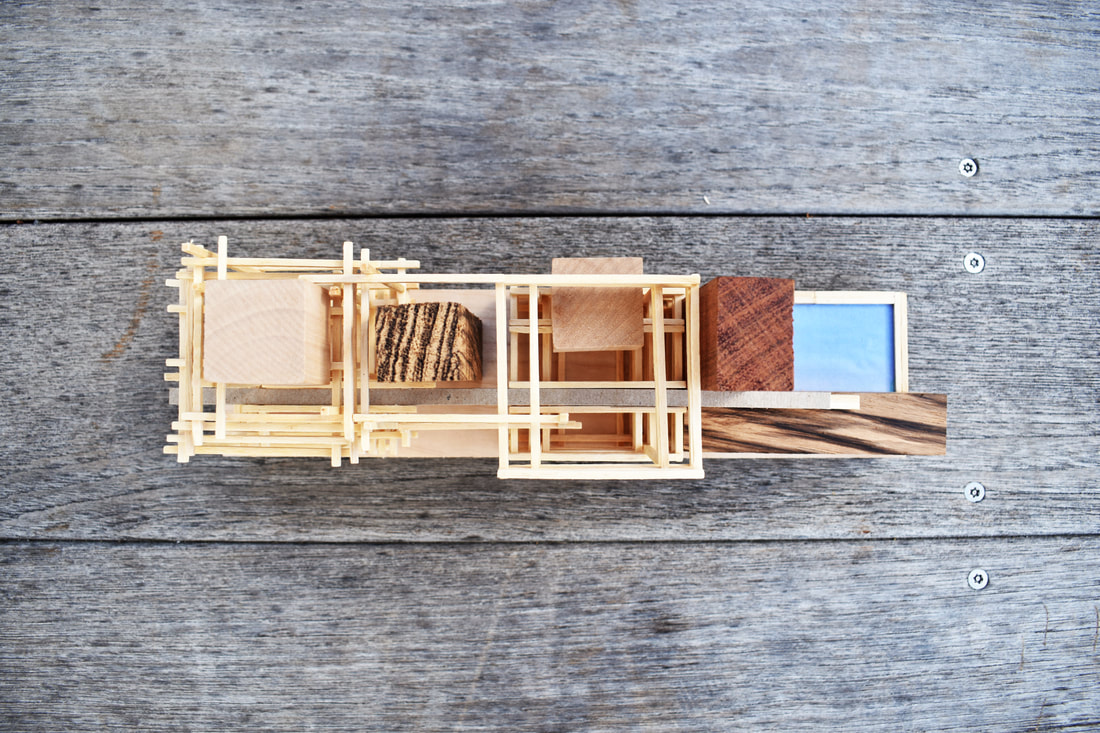
The next step was to bring out the building assembly from the model and turn it into a more accurate representation of the construction of the building. This was done by building a 1"=12.5' scale model that came out to be a 40" by 16" site ~ equivalent to the original 500 by 200 ft plan.
I better explained my assembly while still using my SketchUp model however, and I was able to achieve this by creating an axonometric drawing in Photoshop that highlighted the different layers of building materials and how they would sit within the building. It is shown here below.

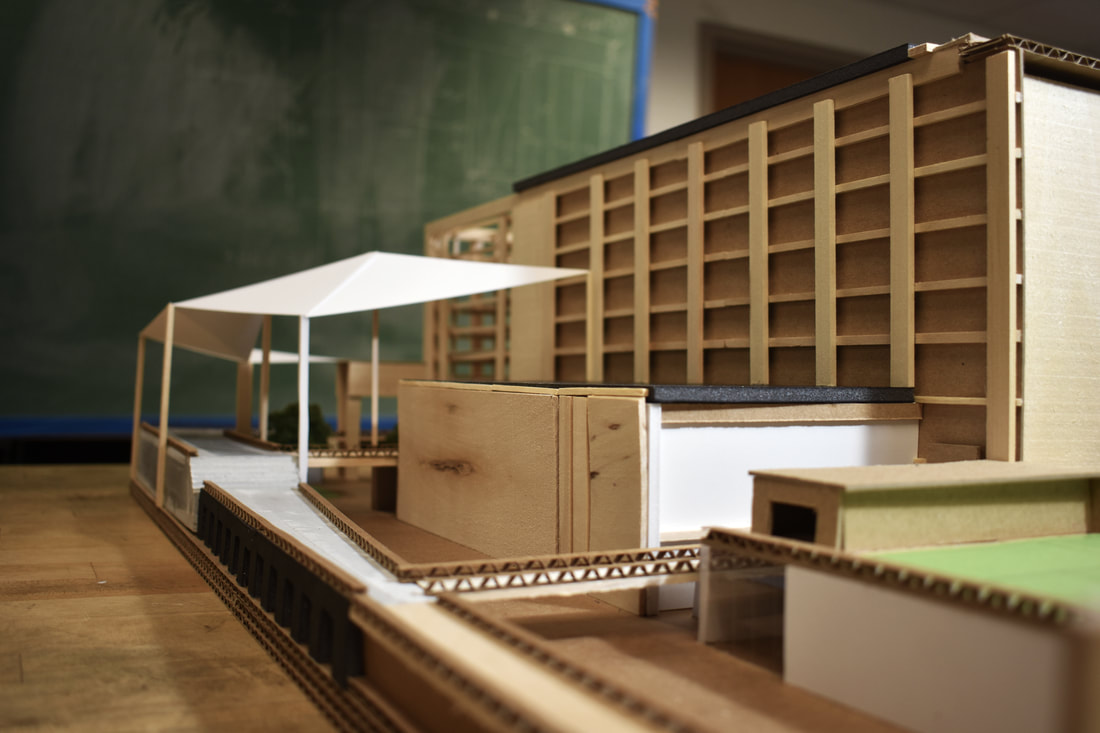
FINAL MODEL AND PHOTOGRAPHY
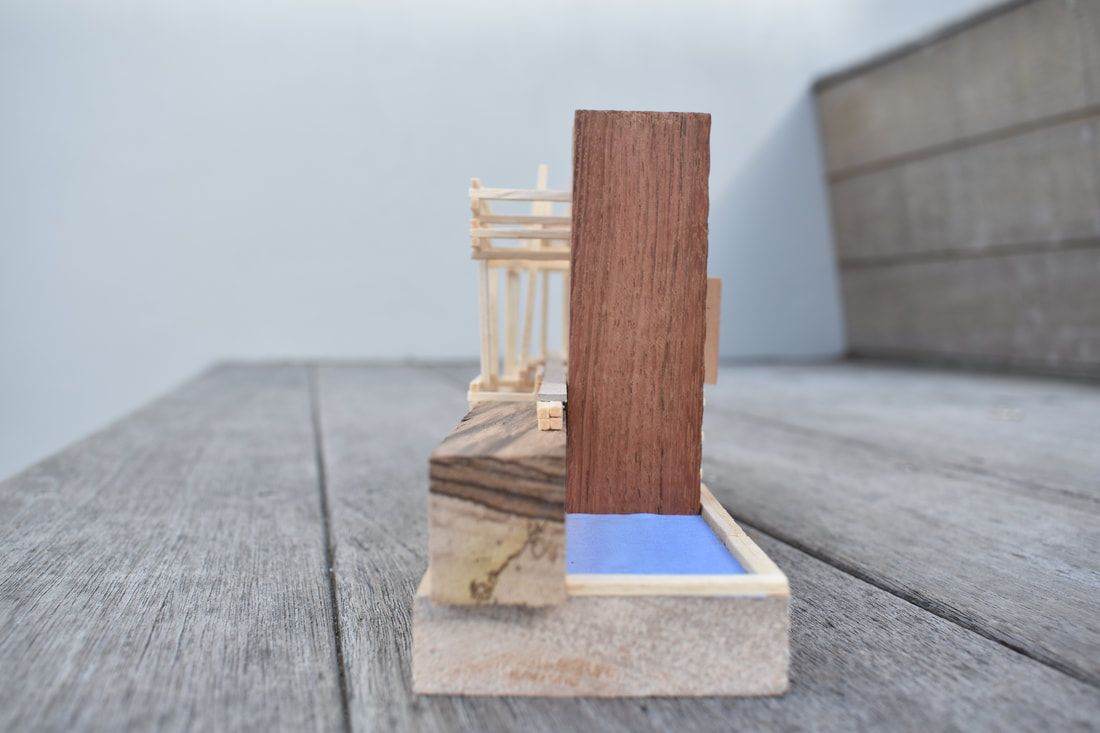
The final model was made with cardboard, fast-setting cement, and wooden dowels as the main building components.